Deep Dive: How to Integrate Google Fonts in .NET MAUI
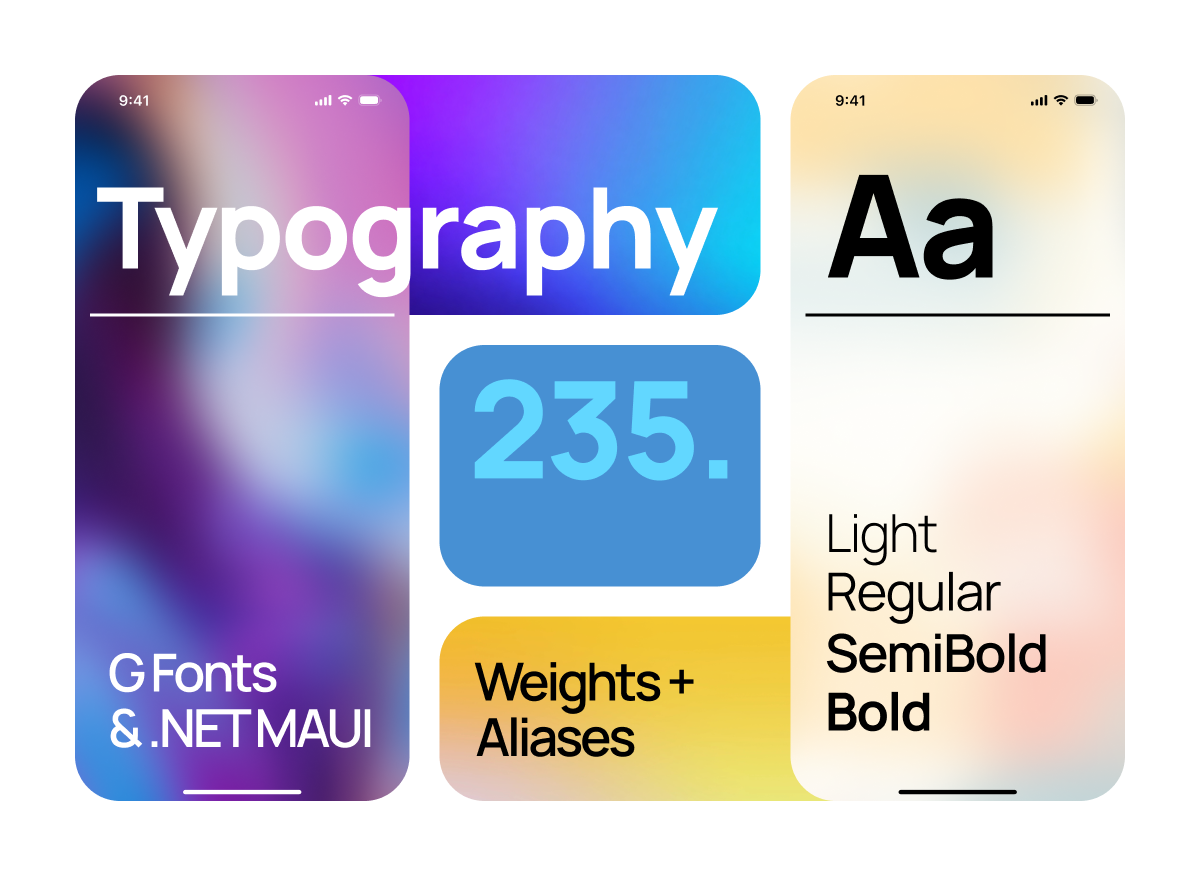
Welcome back to our Deep Dive series! In this guide, you’ll learn exactly how to integrate Google Fonts in .NET MAUI the right way. We’ll cover setup, registering multiple weights, centralizing styles with ResourceDictionary, and the design decisions that keep your UI clean, consistent, and accessible across platforms. Fonts are often overlooked, but they play a critical role in how users perceive and interact with your app.

Why Fonts Matter in .NET MAUI Apps
Typography is more than text, it’s UX glue. The font family, size, and weight influence:
- Brand perception: professional, playful, modern, or classic.
- Readability: screen-first fonts (Inter, Roboto, Open Sans) reduce fatigue and make content comfortable to read.
- Visual hierarchy: weights and sizes guide attention naturally.
- Cross-platform consistency: Google Fonts help you ship the same look on Android, iOS, Windows, and macOS.
👉 When typography works, it’s invisible. When it doesn’t, users feel it.
Adding a Google Font in .NET MAUI (Step-by-Step)
Step 1: Download the Font
- Go to Google Fonts.
- Choose a family (e.g., Montserrat).
- Download the family and extract the
.ttfor.otffiles.
Step 2: Add the files to your project
Place them inside your MAUI project under Resources/Fonts:
Resources/Fonts/Montserrat-Regular.ttf
Resources/Fonts/Montserrat-Bold.ttf
💡 Important: Set Build Action to MauiFont.
Step 3: Register fonts in MauiProgram.cs
builder.ConfigureFonts(fonts =>
{
    fonts.AddFont("Montserrat-Regular.ttf", "MontserratRegular");
    fonts.AddFont("Montserrat-Bold.ttf", "MontserratBold");
});
Step 4: Use the fonts in XAML
<Label
	Text="This is Montserrat Regular"
	FontFamily="MontserratRegular"
	FontSize="16" />

<Label
	Text="This is Montserrat Bold"
	FontFamily="MontserratBold"
	FontSize="16" />
That’s the minimal path to integrate Google Fonts in .NET MAUI. Now, let’s make it scalable.
Managing Fonts with ResourceDictionary
Adding fonts without a strategy can quickly turn into a mess. Imagine multiple families with different weights and sizes scattered across your app. The result? An inconsistent and unprofessional UI.
👉 The solution is to use a ResourceDictionary to centralize font definitions. This way you:
- Guarantee consistency across screens.
- Make it easy to update fonts in the future.
- Maintain a professional design system for typography.
<!-- Resources/Styles/Fonts.xaml -->
<ResourceDictionary xmlns="http://schemas.microsoft.com/dotnet/2021/maui"
                    xmlns:x="http://schemas.microsoft.com/winfx/2009/xaml">

  <!-- Sizes -->
  <x:Double x:Key="FontSizeHeading">24</x:Double>
  <x:Double x:Key="FontSizeBody">16</x:Double>

  <!-- Styles -->
  <Style TargetType="Label" x:Key="HeadingLabel">
    <Setter Property="FontFamily" Value="MontserratBold" />
    <Setter Property="FontSize"   Value="{DynamicResource HeadingFontSize}" />
    <Setter Property="TextColor"  Value="Black" />
  </Style>

  <Style TargetType="Label" x:Key="BodyLabel">
    <Setter Property="FontFamily" Value="MontserratRegular" />
    <Setter Property="FontSize"   Value="{DynamicResource BodyFontSize}" />
    <Setter Property="TextColor"  Value="Gray" />
  </Style>
</ResourceDictionary>
Merge in App.xaml so all pages can use these styles:
<Application ...>
  <Application.Resources>
    <ResourceDictionary>
      <ResourceDictionary.MergedDictionaries>
        <ResourceDictionary Source="Resources/Styles/Fonts.xaml" />
      </ResourceDictionary.MergedDictionaries>
    </ResourceDictionary>
  </Application.Resources>
</Application>
You can notice that we used DynamicResource to set the FontSize, this will let us in the future easily change the sizes of the fonts in the app, just changing the Resources: BodyFontSize and HeadingFontSize.
Register & Use Multiple Font Weights
When working with custom fonts, each weight must be registered separately. MAUI won’t automatically switch from Regular to SemiBold if you set FontAttributes="Bold". Let’s add another font to see how to work with different weights.
Step 1: Register Each Weight
First we must register each weight in the MauiProgram.cs file like we did before.
builder.ConfigureFonts(fonts =>
{
    //...
    fonts.AddFont("Poppins-Regular.ttf", "Poppins");
    fonts.AddFont("Poppins-SemiBold.ttf", "PoppinsSemiBold");
    fonts.AddFont("Poppins-Bold.ttf", "PoppinsBold");
});
Step 2: Create Alias Strings in a ResourceDictionary
Now create string resources to match each weight with a variable name, this will help us to keep our styles clean and make them easier to modify
<!-- Resources/Styles/Fonts.xaml -->
<ResourceDictionary xmlns="http://schemas.microsoft.com/dotnet/2021/maui"
                    xmlns:x="http://schemas.microsoft.com/winfx/2009/xaml">

  <!-- Font Aliases -->
  <x:String x:Key="AppFontFamily">Poppins</x:String>
  <x:String x:Key="AppFontFamilySemiBold">PoppinsSemiBold</x:String>
  <x:String x:Key="AppFontFamilyBold">PoppinsBold</x:String>

  <!-- Sizes -->
  <x:Double x:Key="FontSizeHeading">22</x:Double>
  <x:Double x:Key="FontSizeBody">16</x:Double>

  <!-- Styles -->
  <Style TargetType="Label" x:Key="BodyText">
    <Setter Property="FontFamily" Value="{DynamicResource AppFontFamily}" />
    <Setter Property="FontSize"   Value="{DynamicResource FontSizeBody}" />
    <Setter Property="TextColor"  Value="Black" />
  </Style>

  <Style TargetType="Label" x:Key="HeadingText">
    <Setter Property="FontFamily" Value="{DynamicResource AppFontFamilySemiBold}" />
    <Setter Property="FontSize"   Value="{DynamicResource FontSizeHeading}" />
    <Setter Property="TextColor"  Value="Black" />
  </Style>

  <Style TargetType="Label" x:Key="HeadingTextStrong">
    <Setter Property="FontFamily" Value="{DynamicResource AppFontFamilyBold}" />
    <Setter Property="FontSize"   Value="{DynamicResource FontSizeHeading}" />
    <Setter Property="TextColor"  Value="Black" />
  </Style>
</ResourceDictionary>
As before we used DynamicResource to set the FontFamily, this will let us in the future easily change the main family fonts of the app, just changing the resource: AppFontFamily.
Step 3: Use Them in your UI
<Label
	Text="This is the 'Body text' Style with Poppins-Regular"
	Style="{StaticResource BodyText}"
    />

<Label
	Text="This is the 'Heading text' Style with Poppins-SemiBold"
	Style="{StaticResource HeadingText}"
    />

<Label
	Text="This is the 'Strong text' Style with Poppins-Bold"
	Style="{StaticResource HeadingTextStrong}"
    />
This pattern ensures you always use the right weight, avoids reliance on FontAttributes, and gives flexibility to change the font family later by updating a single resource.
Typography Best Practices (Design POV)
Beyond implementation, here’s what to consider when choosing fonts:
- Legibility first: choose screen-optimized families (Inter, Roboto, Open Sans).
- Tone & personality: Fonts can feel friendly (Nunito), bold (Poppins), or elegant (Playfair Display).
- Weight variety: Pick a family with multiple weights for clear hierarchy.
- Keep it tight: Limit yourself to one or two families max to avoid clutter.
- Contrast: minimum WCAG AA contrast for text (4.5:1 for body, 3:1 for large).
- Bi-Di & scripts: consider fonts that support RTL scripts and wide Unicode (e.g., Noto).
Typography is design’s quiet hero: it shapes how users perceive your app without them even noticing.
FAQ – Google Fonts in .NET MAUI
Can I use any Google Font in .NET MAUI?
Yes. Download the .ttf/.otf, add them to Resources/Fonts, set MauiFont, register in MauiProgram.cs, and use the alias in XAML.
Do I need internet access to load Google Fonts in MAUI?
No. You bundle the files locally, so your app works offline.
How do I handle multiple font weights?
Register each weight with its own alias (Regular, SemiBold, Bold). Don’t rely on FontAttributes="Bold".
What are good default choices for mobile apps?
Inter, Roboto, and Poppins strike a great balance between legibility and personality.
Can I switch fonts later without touching every page?
Yes, use a ResourceDictionary with aliases. Update the alias values once; styles propagate everywhere.
My font isn’t applying on iOS/Android.
-Confirm Build Action = MauiFont.
-Ensure the alias you use in XAML matches the registered name exactly (case-sensitive).
-Clean & rebuild after adding new font files.
Bold doesn’t work with FontAttributes.
That’s expected. Register each weight and use the alias (PoppinsSemiBold, PoppinsBold).
Windows shows a different font.
Some platforms substitute if a weight/file is missing. Verify each .ttf exists and is registered.
Chinese/Japanese characters show squares.
Your chosen font may lack glyph coverage. Consider Noto Sans/Noto Serif families for wide Unicode coverage.
Final Thoughts
Integrating Google Fonts into .NET MAUI is simple, but the benefits are substantial. With a few steps, downloading, registering, and centralizing, you can transform your app’s typography into a polished design system.
By managing multiple weights properly and using a ResourceDictionary as a single source of truth, you ensure consistency, flexibility, and maintainability. And when paired with thoughtful design decisions, fonts become a powerful tool to strengthen your brand and improve the user experience.
I’d love to hear your thoughts—drop a comment on social media and let me know what topics you’d like me to cover in future posts. Also, feel free to review the sample code from this article on the GitHub repo: UXDivers/blog.fonts. Your feedback and suggestions help shape the direction of this blog!